WARDOGS Logistics and Building — The Complete System Overview
Published 2026-09-18Updated 2026-09-195 min read
How WARDOGS' logistics loop works end to end: FOB siting, hammer tiers, crates vs pallets, blueprint construction and the new player progression path.
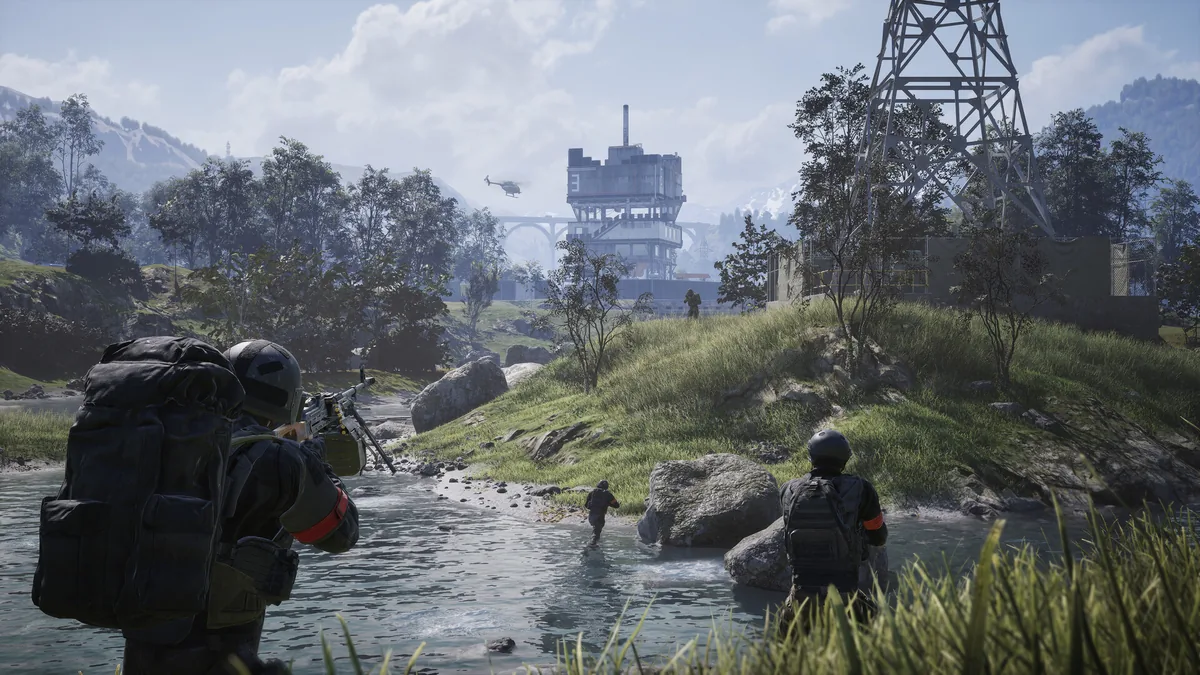
Logistics and building are one system in WARDOGS: FOBs anchor it, trucks feed it, hammers shape it. Here is the whole machine in one page.
One: The FOB Comes First
Without an FOB you can only place simple sandbags — no AA, no mortars, no bunkers, no watchtowers.
- Buy it at the vendor (construction tab); it rides in a backpack or vehicle inventory.
- Site it near the hotzone for the doubled rewards, on high ground with cover from direct fire, close to friendly territory, with room for vehicles to enter and leave. Never on an open plain.
- The FOB's core is its life: if the core dies, every structure in the radius dies with it.
Two: The Hammers
- Small Hammer: simple sandbags only, slow build.
- Medium Hammer: basic structures plus some mid-tier pieces.
- Large Hammer (the priority unlock): every blueprint, fastest build speed — AA, mortars and watchtowers all require it to place. Once the blueprint is down, teammates with smaller hammers can finish the job, earning money and XP for it.
Three: The Transport Loop
Press B for the logistics menu — crates and pallets:
- Crates are the flexible option: mixed resources, small vehicles can carry them, dropped with G and hand-transferred into the FOB with F.
- Pallets are the volume option: 1,800 units of one resource, auto-storing into a friendly FOB when dropped in its territory — no landing required if you're flying. A URAL takes two, a UH-1Y takes one.
The money logic: deliveries pay cash and Support/Driver XP (doubled in the hotzone), and frontline reselling — buy crates of meds and ammo, mark up the price, airdrop them to teammates — compounds into real wealth. Start with an SUV, graduate to the URAL, and the whole Driver track levels while you work.
Four: Construction Itself
Hammer equipped, right-click opens the build menu; choose a structure and place its blueprint (toggle snap for free placement). Hold F on the blueprint to build, consuming FOB materials. Yellow-X builds pay the placer and the hammer-swingers more.
A sane defensive order: HESCO walls and sandbags around the base with an airlocked vehicle gate left open — then wire outside the walls — a watchtower on the high ground — SAM or CIWS on a raised platform with clear firing arcs — mortar pits with firing gaps in the wall line. Full defensive theory in FOB defense layout.
Five: The Traps
- Stacked HESCO makes platforms, but there's a height cap.
- Walls flush against slopes become stairs for the enemy; no climbable gaps.
- Don't cluster your emplacements — one explosion shouldn't chain-delete your whole base.
- The oil derrick is the late-game strategic build: hugely material-hungry, and it drags the hotzone to you. Build it when the team can afford to defend it.
Related: fob building guide · logistics transport guide · fob uses explained