WARDOGS Mortar Ranging — First-Shot Accuracy With Map Coordinates
Published 2026-09-16Updated 2026-09-194 min read
Hit WARDOGS mortar targets on the first shell: mark map coordinates, run the distance formula, set RNG, and skip the firing animation with C.
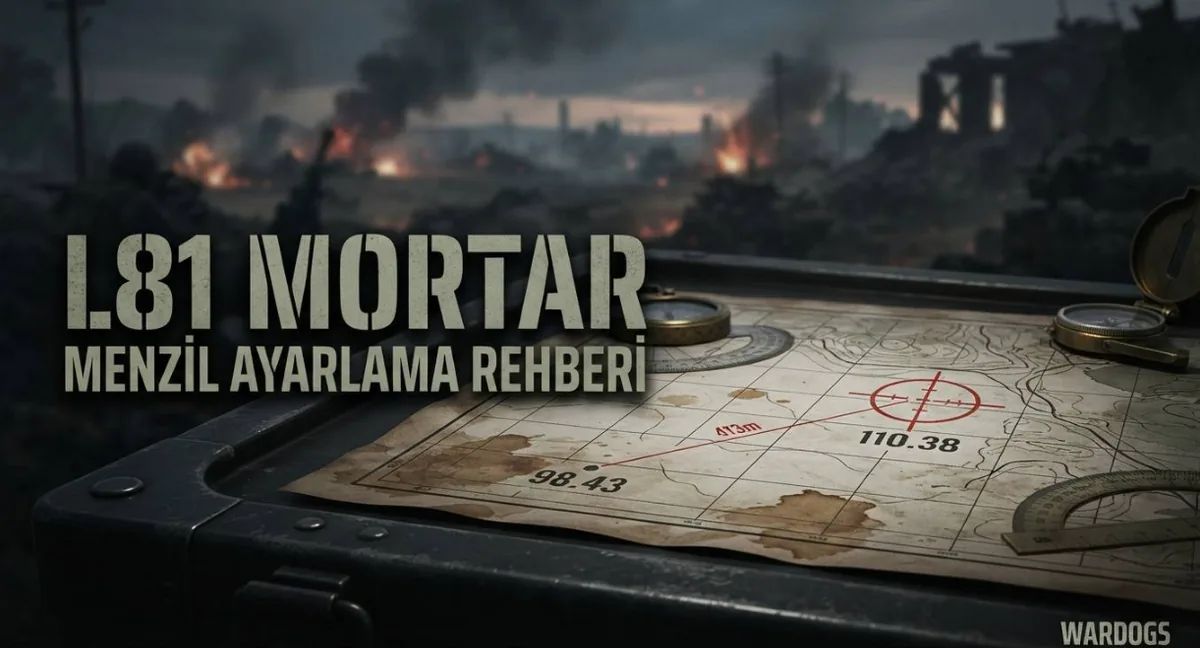
The common mortar routine — fire, watch where it lands, adjust, repeat — works, but it wastes shells and announces your position with the first shot. Map coordinates let you compute the range before firing at all.
Step 1: Collect Two Coordinates
Open the map and zoom to your mortar's position. Right-click your spot, choose mark coordinates, and copy the values. Repeat on the target position. Example:
- Mortar: 98.43, 110.38
- Target: 94.53, 109.03
The first number is X, the second is Y.
Step 2: Compute the Distance
Distance = √((ΔX × ΔX) + (ΔY × ΔY)) × 100
With the example: ΔX = 3.90, ΔY = 1.35 → √(15.21 + 1.82) × 100 ≈ 413 meters. Set the mortar's RNG to 413.
Step 3: Fire
- Middle-click the target on the map to mark it.
- Rotate the mortar until the white target marker sits under your crosshair.
- Set RNG to your computed distance and fire. Between settings, pick the middle value — a few meters of error barely matters.
The C Trick and Ammo Math
After every shot, press C to skip the firing animation — for multi-shell barrages it saves ages of watching your own muzzle. Shells cost ammo from the FOB: 30 per shell, 90 for a three-shell salvo. Walk your bursts by nudging the aim point between shots to cover a wider area.
Terrain Still Gets a Vote
A perfect number means nothing if a tree, building or hill sits in the shell's path — blocked shots aren't math errors, they're geography. And any time the mortar moves or its bearing changes, the whole calculation starts over.
The flow: coordinates → distance → RNG → target mark → fire → C to skip. Clunky for the first three attempts, reflexive after ten — and your first-shot hits will confuse enemies who assumed mortars needed a ranging shot.
Related: fob uses explained · how to win more · logistics building overview