WARDOGS Advanced Tips — 20 Hidden Tricks Most Players Miss
Published 2026-09-246 min read
Community-vetted advanced WARDOGS tips: disable APCs by shooting the antenna, crack Humvees with AP ammo, triple-tap mortars, silently loot bodies and sell the right ammo.
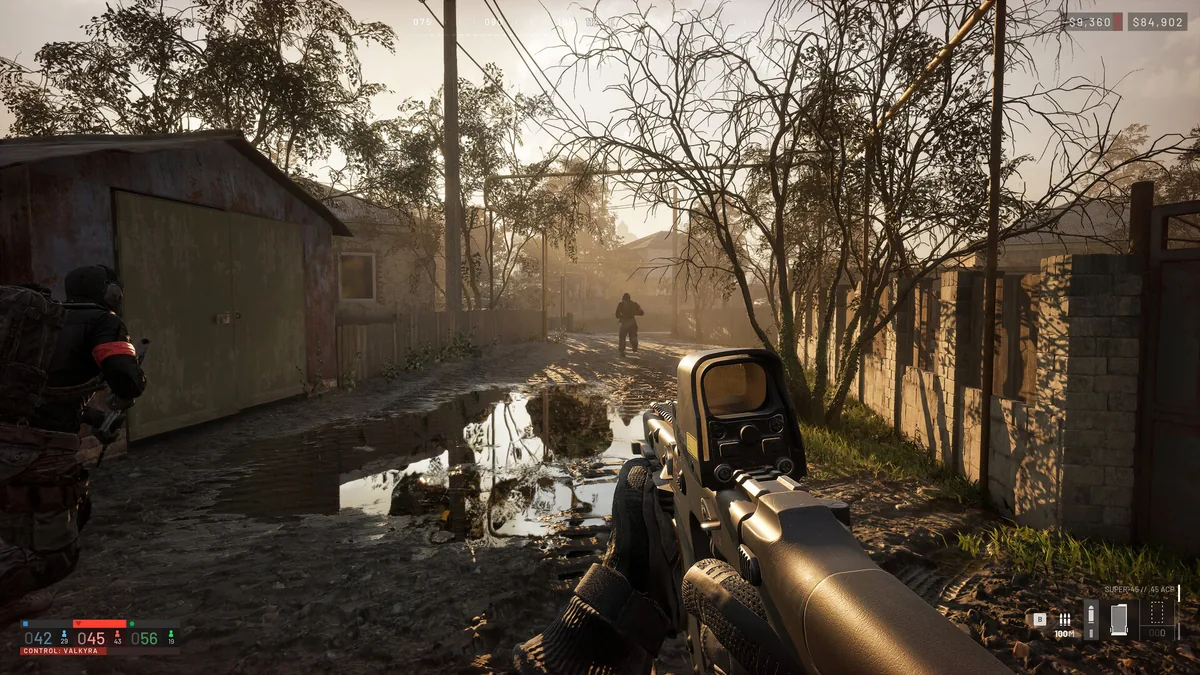
Beyond the beginner basics live a set of mechanics the game never explains — most of them surfaced by the community mid-Season 1. If our essential tips are the foundation, these are the tricks that win scrappy matches: disabling APCs without destroying them, cracking open locked vehicles, triple-firing mortars, and turning dead enemies into loot pinatas.
Anti-Vehicle Tricks: Crack a Humvee for Cheap
- Regular bullets pop Humvee tires. Sustained fire on the wheels slows or fully immobilizes it — no explosives needed.
- AP ammunition penetrates Humvee windows. Shoot the occupants from outside, or return fire through the glass from inside.
- Four to six grenades take out a Humvee. Coordinate throws instead of dumping your entire pouch into one.
- A crowbar pries open locked enemy vehicles — Humvees, helicopters, Urals, tanks and artillery all yield; APCs are the exception. It may take several attempts.
- Never fire an RPG from a helicopter passenger seat unless the area behind you is clear — the backblast can kill the passengers inside your own aircraft.
APC Warfare: The Antenna Is the Weak Point
- Shoot an APC's roof antenna to disable spawning without destroying the vehicle. It stays disabled until someone repairs it — often forever, because nobody carries a repair priority.
- Using a Stingray drone against an APC? Avoid the antenna — it absorbs the hit and only disables spawning when you want the kill.
- Every APC carries a wrench and a fuel can in its inventory. Steal them and the crew can't repair what you broke.
- Spawn-camped at your own APC? Press 0 to jump straight into the driver's seat and V to pop smoke while you relocate.
Mortar & Artillery: Fire Three Before They Move
- Mortars hold three shells. Range the first shot, press C to cancel the shell camera, then fire the remaining two before the enemy can reposition.
- The same camera-cancel trick works on the SPH-2 artillery vehicle.
- Hover over a binocular-marked enemy on the mortar map to see their exact distance — accurate fire with no direct line of sight. Pair it with our artillery calculator for the bearing and MIL value.
Looting: Turn Bodies Into Payday
- Press X while hovering over an enemy magazine to unload its rounds. You can also yank the magazine from their weapon and unload it in your own inventory.
- Press G while hovering over equipment on a downed enemy to throw it away — removing their weapon leaves them harmless if a medic gets ambitious.
- Drag downed enemies out of cover, or leave them somewhere exposed. It denies the easy revive and can bait their medic into an ambush.
- Press R on a selected item to rotate it inside your backpack — the difference between fitting the kit and leaving it behind.
Sell Smart: The Vendor Crate Economy
- Vendor crates being delivered to the Control Zone can be bought out and deposited into a FOB — depositing pays Support XP and can repay more than the purchase price.
- Hover over crates on the tactical map to inspect their contents before travelling.
- Ammunition is the safest thing to sell in vendor crates: 5.56×45 is the most consistently useful, followed by 7.62×39 and 7.62×54. Medical supplies are expensive and much harder to move at a profit.
Backpack & Hotbar: Small Keys, Real Speed
- Equipment doesn't need specialist slot 3. Keep it in your backpack, assign it to slot 4 or higher, and use it through the hotbar.
- Hold 4 to open the quick-access equipment wheel instead of memorizing every hotbar position.
- Hold Alt (walk) while climbing ladders to move almost silently; sprint while descending to slide down faster.
Where to Go Next
Vehicle-destroying charge counts live in our explosives cheat sheet; the money routes behind crate trading are in the fast money guide; and if you're still building fundamentals, start with the essential tips & tricks.