WARDOGS Hot Zone & Control Zone Rules — Scoring, Double Rewards
Published 2026-09-244 min read
How the WARDOGS Control Zone scores points (first to 100 wins), what the moving Hot Zone doubles, and the two ways to pull the zone toward your team.
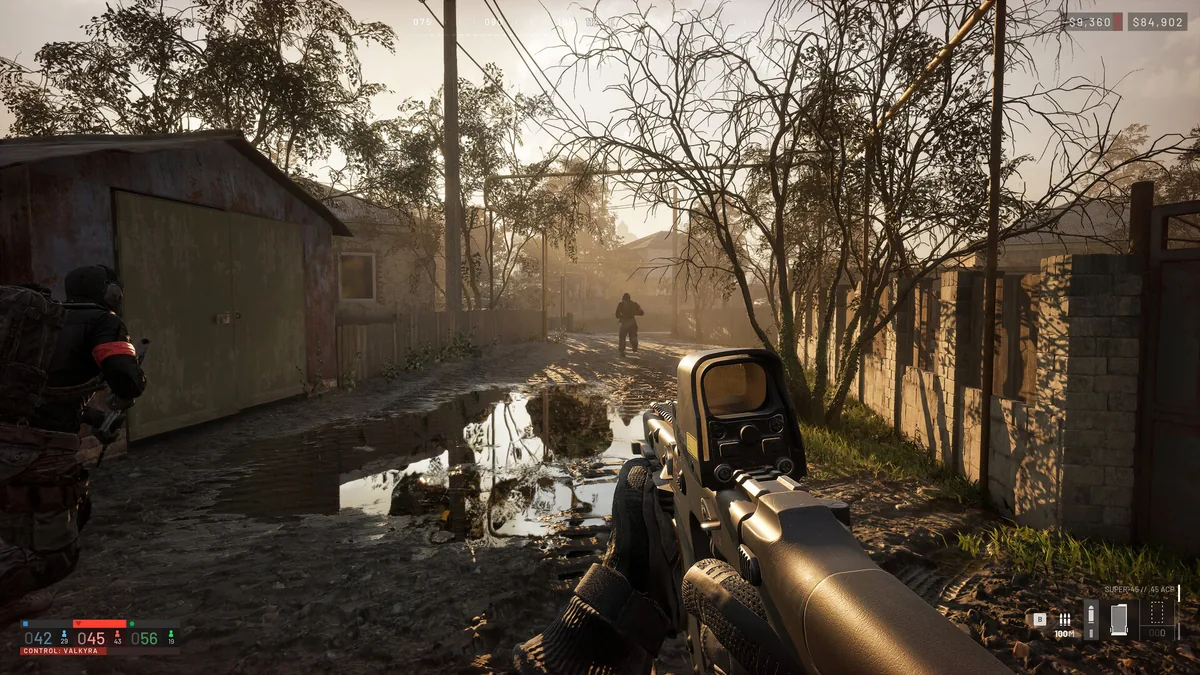
WARDOGS has two zones and they are not the same thing. The Control Zone is where the match is scored. The Hot Zone is a smaller, moving area inside it where everything you do counts double. Confusing them costs matches.
Control Zone: How a Match Is Scored
- Up to 100 players split into three teams: Lonestar, Valkyra or Manticore (the team names are confirmed; no faction gets different gameplay bonuses).
- Each match rolls a randomized 2×2 km Control Zone inside a published 256 km² battlefield — you never fight the same layout twice.
- The team with the most players inside the zone earns points on every tick, and the first team to 100 points wins.
- Deaths don't end your match — you redeploy, but every minute outside the zone is a minute your team isn't scoring.
Hot Zone: Double Everything
The Hot Zone is a smaller area that moves across the Control Zone. Inside it, a player's objective contribution and cash reward are doubled — scoring, kills, revives, builds, supplies, all of it. The design publishes the doubling; the exact timing and movement rules have not been published, so treat third-party timers with suspicion.
Two practical consequences:
- A tick inside the Hot Zone is worth two ticks outside — teams gravitate there, so fights concentrate hard.
- Losing bodies in the Hot Zone feeds the enemy double too. Feeding one player at a time into a contested zone is how leads evaporate.
Pulling the Zone Toward Your Team
The Hot Zone doesn't wander randomly — teams can pull it, two ways:
- Build a Drill Tower at your FOB. The drill burns fuel and time to drag the Hot Zone toward your side — ideal when your base is fortified and you want the fight (and the double rewards) on your doorstep.
- Capture towers for their codes. Taking map towers yields tower codes; entering the code at your controlled tower pulls the Hot Zone to it. Aggressive teams abuse this to drag rewards onto a position they already hold.
On the map, a dashed white line means the Hot Zone is currently being pulled. See it and decide fast: contest the pull, or set up where it's going.
The Cash That Follows the Zones
You start every account with $10,000 and cash persists between matches — but every gun, helmet and vehicle is bought per life. The zone system is why objective play pays: contribution and cash both double inside the Hot Zone, and teamplay actions (revives, transports, builds, marks) all pay. For the money routes, see the fast money guide; for the supply loop that keeps FOBs alive, see the logistics transport guide.
Related: how to win more · FOB defense layout · essential tips & tricks · clean sweep achievement